Workspaces and file structures
In this lesson you will learn how to create workspaces and how to manage access to workspaces.
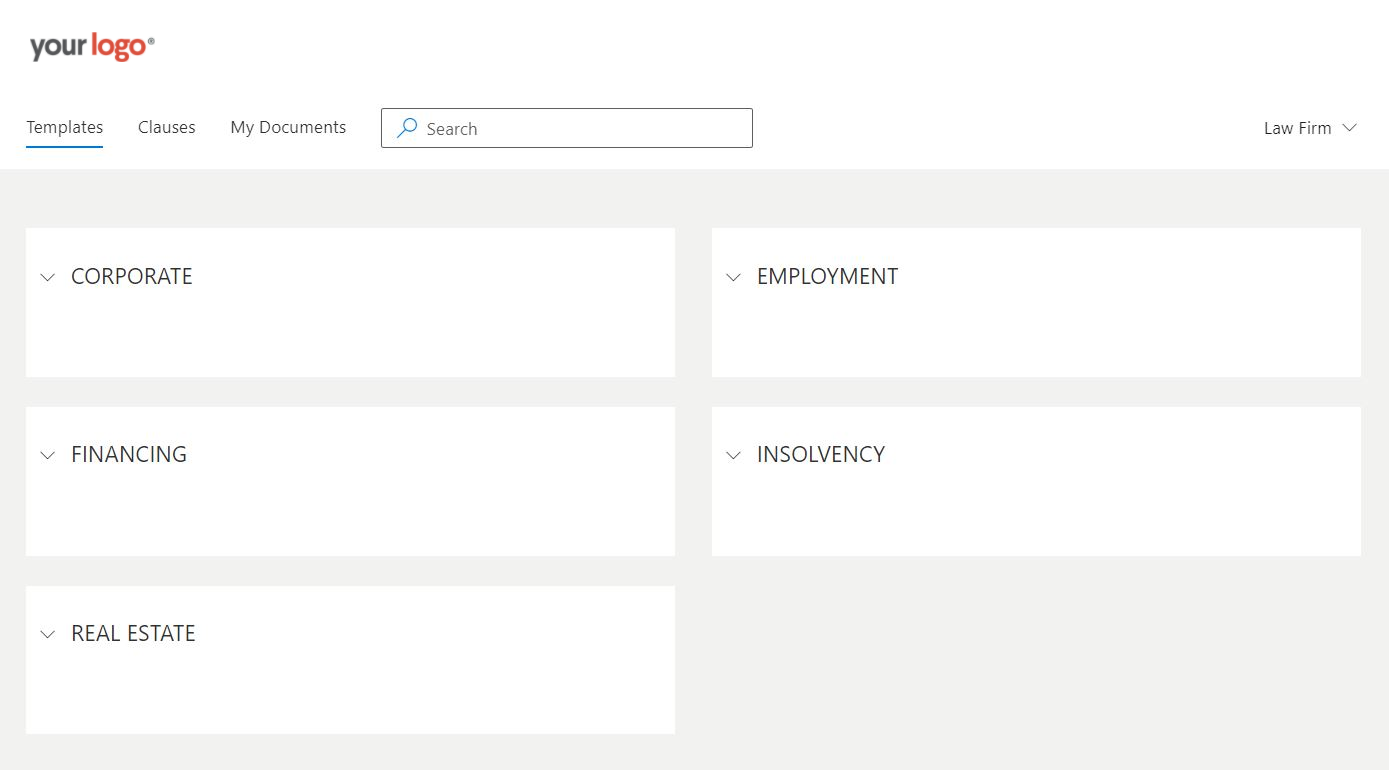
Workspaces serves as the top level of any file structure on the portal. On the main page the top level folders in each workspace are displayed in a tiles view.
A workspace can contains folders in which automated templates and static files are stored.
Workspaces provides an overall structure for separating documents which are avaliable for internal users, external users, under preparation etc.
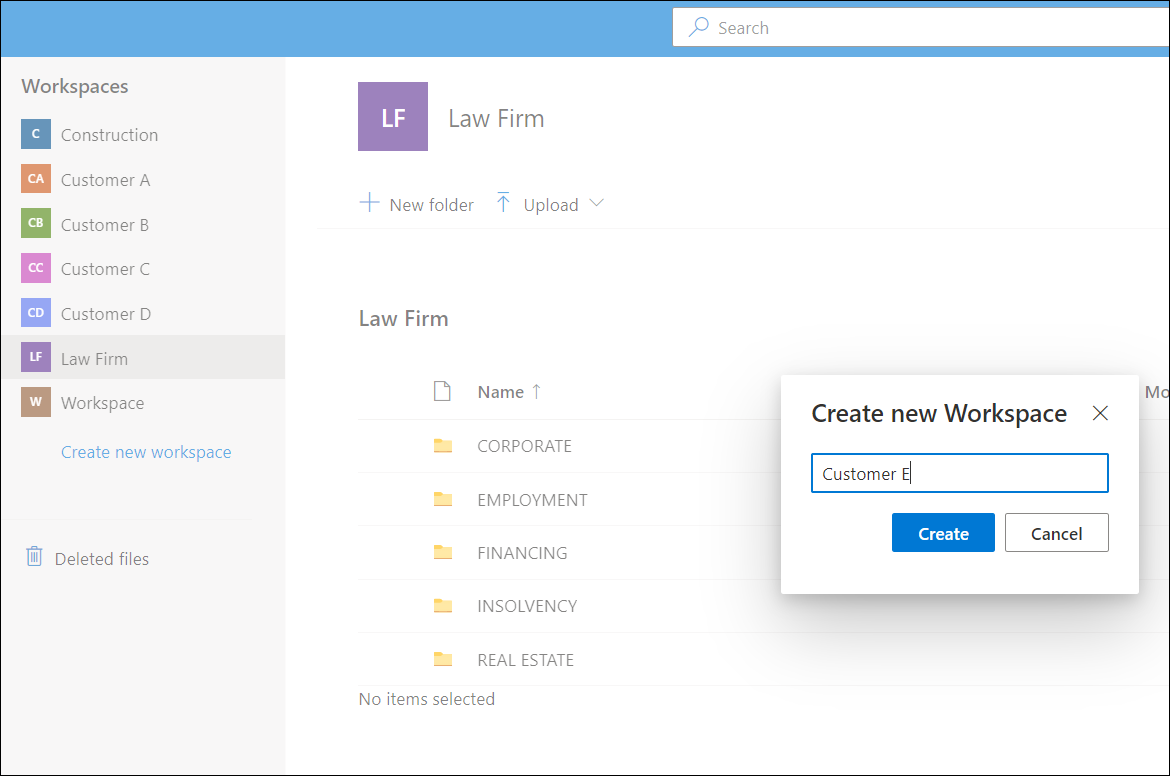
Create workspace
- Open the File Manager.
- Select Create new workspace.
- Insert name of the new workspace.
- Select Create.
Manage access to workspace
A group will obtain access to a workspace when the group has been granted access to one or several folders within the workspace.
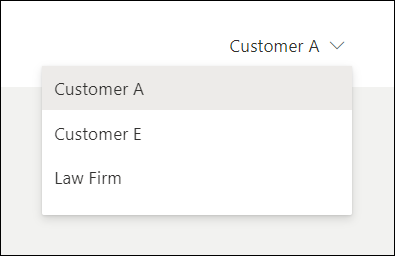
If user has access to several workspaces, a drop down menu will appear on the main page enabling the user to switch between the workspaces.
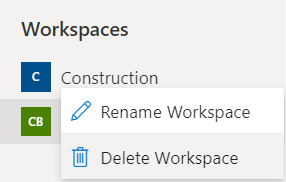
Rename workspace
- Right click on workspace.
- Select Rename Workspace.
- Edit name.
- Select Save.
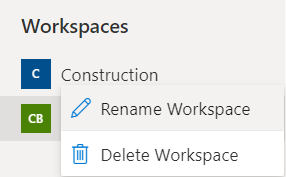
Delete workspace
- Right click on workspace.
- Select Delete Workspace.
- Confirm deletion by selecting Delete.